Hello my blogging friends and Family, I trust you are enjoying your Saturday.
Today is my nephew James' birthday and my sister Clare and I were chatting, saying how amazing it was that he'd reached the age of 25 already!!!! Oh my!
I have a card and a video to show you today, I called it a "Delft Blue" card ... at a guess because it is in this lovely powder blue colour, which I used as a foil for the white cardstock used for the card base.
Here it is:

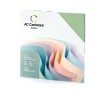
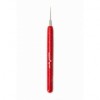
I made the base using white cardstock and a piece of this beautiful powder blue cardstock which comes in an American Crafts paper pack. The matted layer on top I paper pierced around the edges using a Tim Holtz ruler.

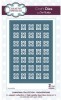
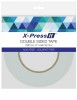
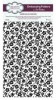
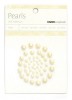
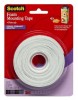
I used the blue cardstock, creating the top blue layer and passed it through a Sue Wilson A4 Rambling Blossom embossing folder. I applied foam tape to the back to give the card a slightly raised dimension when it was adhered to the main part of the card. On the top and bottom of this layer I added the French Collection border die which I cut slightly less wide than the full die in white cardstock and then added a row of tiny pearls.

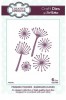
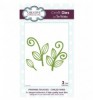
In the central space I used the Caribbean Collection St Kitts die which I cut in white cardstock and backed with the blue.
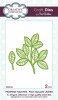
On each side I wove two pieces I cut out using the Caribbean Collection St. Lucia die.
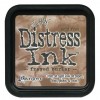
I used the smallest die from the Spellbinders Oval Floral set to cut out my Just Rite Stamp sentiment which I stamped with Memento Black Tuxedo ink and then inked the edges with stormy blue distressed ink.

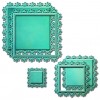
Then I cut a piece from the pierced flag die set and wove this between the other die pieces; adding a few pearls on each side.
It's a really pretty card.
While my camera was up I made a short film clip; here it is:
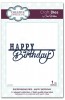
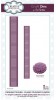
The main ingredients that I used to make my card were:
Thanks for stopping by to read today's blog. Yes ... I did manage a few hours doing crafty stuff today and more cards are on their way...

Today is my nephew James' birthday and my sister Clare and I were chatting, saying how amazing it was that he'd reached the age of 25 already!!!! Oh my!
I have a card and a video to show you today, I called it a "Delft Blue" card ... at a guess because it is in this lovely powder blue colour, which I used as a foil for the white cardstock used for the card base.
Here it is:

I made the base using white cardstock and a piece of this beautiful powder blue cardstock which comes in an American Crafts paper pack. The matted layer on top I paper pierced around the edges using a Tim Holtz ruler.

I used the blue cardstock, creating the top blue layer and passed it through a Sue Wilson A4 Rambling Blossom embossing folder. I applied foam tape to the back to give the card a slightly raised dimension when it was adhered to the main part of the card. On the top and bottom of this layer I added the French Collection border die which I cut slightly less wide than the full die in white cardstock and then added a row of tiny pearls.

In the central space I used the Caribbean Collection St Kitts die which I cut in white cardstock and backed with the blue.
On each side I wove two pieces I cut out using the Caribbean Collection St. Lucia die.
I used the smallest die from the Spellbinders Oval Floral set to cut out my Just Rite Stamp sentiment which I stamped with Memento Black Tuxedo ink and then inked the edges with stormy blue distressed ink.

Then I cut a piece from the pierced flag die set and wove this between the other die pieces; adding a few pearls on each side.
It's a really pretty card.
While my camera was up I made a short film clip; here it is:
The main ingredients that I used to make my card were:
 |  |  |  | |
 |  |  | ||
 |  |  |  | |
 |
Thanks for stopping by to read today's blog. Yes ... I did manage a few hours doing crafty stuff today and more cards are on their way...