Hello my blogging friends and family how are you? I got back home at the weekend after a very successful time away. Once home and having unpacked and got the washing on it was great to once again get into my crafting space.
I think I mentioned I have a few Christmas cards to show you and today's posting is about one of them.
Here it is:
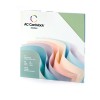
I began with the card base using white American Crafts card stock, then used a piece of pale blue card stock also from American Crafts, the pastel pack for a matted layer.
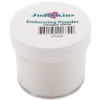
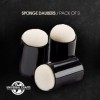
Then I used the JustRite Holly Stitched background stamp which I inked with a Versa Mark Ink and then heat embossed using white embossing powder. I used the Memento London Fog ink pad and a dauber to colour the embossing I had just done.
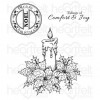
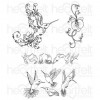
I used the Heartfelt Creations Sparkling Poinsettia Candle stamp and a Memento Tuxedo Black ink pad, once stamped I fussy cut the image and coloured it using a variety of Distressed ink pens.
I positioned the cut-out on the card background and then used a Memento Dandelion ink pad and a dauber to ink the background (to create the candle light effect) once done I stuck the candle image to the background.
I then added a couple of pearls onto each corner of the card.
I used the Sue Wilson Merry Christmas die to make the sentiment which I added to the top right hand corner of the card.
I kept the inside of the card fairly simple stamping a couple of images inside using the Hampton Art Reindeer set of stamps and a Memento Tuxedo Black ink pad.
I was going to colour them but in the end decided to leave them as they were.
..... and there you have it.
Here are the main ingredients that I used to make my card:
Thanks for stopping by to take a look at today's post. I hope you like my card!


