Hello my blogging family and friends, I hope you are having a GRAND day.
I have the second of my two Marianne Collectibles die cards to show you today. They are such fun to make and then its a question of making a card background for them!
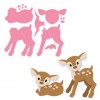
This die set is the two little deer or more accurately I suppose two little fawns!
Here's my card:

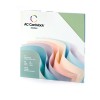
I think this card is so sweet. I used a mixture of Heartfelt Creations dies and stamps, the sentiment I created on my computer and printed it out! All the details will be in the ingredients below. The pale green cardstock is from American Crafts. I cut out the oval using a Spellbinders Grand Ovals die.

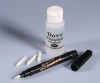
They look so adorable, I made them and had them sitting on my crafting table for ages - they were my crafty playmates, then I just had to make them into a card! I added glossy accents to their noses and fawn spots.

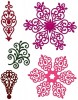
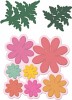
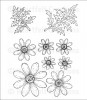
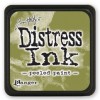
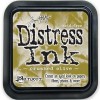
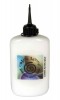
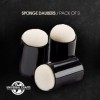
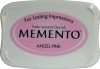
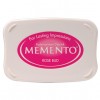
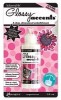
The flowers are from Heartfelt Creations - Delightful Daisies, I firstly heat embossed the stamps with white embossing powder then coloured them using daubers, memento inks and a dove blending pen. The leaves I coloured with Distress Peeled Paint and Crushed Olive ink pads. There are also some Sue Wilson leaves added too. I added prills to the flower centers using dries clear glue from Cosmic Shimmer.
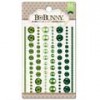
The little button in the corners are a combination of Enamel Stickers from Francheville (a Spotlight purchase) and Bo Bunny Double Dot Emerald Jewels.
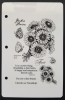
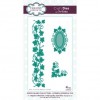
Here's the ingredients that I used to make this card:
Thanks for stopping by to read today's post - hope the rest of your day goes really well.

I have the second of my two Marianne Collectibles die cards to show you today. They are such fun to make and then its a question of making a card background for them!
This die set is the two little deer or more accurately I suppose two little fawns!
Here's my card:

I think this card is so sweet. I used a mixture of Heartfelt Creations dies and stamps, the sentiment I created on my computer and printed it out! All the details will be in the ingredients below. The pale green cardstock is from American Crafts. I cut out the oval using a Spellbinders Grand Ovals die.

They look so adorable, I made them and had them sitting on my crafting table for ages - they were my crafty playmates, then I just had to make them into a card! I added glossy accents to their noses and fawn spots.

The flowers are from Heartfelt Creations - Delightful Daisies, I firstly heat embossed the stamps with white embossing powder then coloured them using daubers, memento inks and a dove blending pen. The leaves I coloured with Distress Peeled Paint and Crushed Olive ink pads. There are also some Sue Wilson leaves added too. I added prills to the flower centers using dries clear glue from Cosmic Shimmer.
The little button in the corners are a combination of Enamel Stickers from Francheville (a Spotlight purchase) and Bo Bunny Double Dot Emerald Jewels.
Here's the ingredients that I used to make this card:
 |  |  |  | |
 |  |  |  |  |
 |  |  |  |  |
 |  |  |  |  |
 |  |  |  |  |
Thanks for stopping by to read today's post - hope the rest of your day goes really well.