Showing posts with label JustRite Stamps. Show all posts

Tuesday, 26 July 2016

Blue and White Candle Christmas Card

Hello my blogging friends and family how are you? I got back home at the weekend after a very successful time away. Once home and having unpacked and got the washing on it was great to once again get into my crafting space.

I think I mentioned I have a few Christmas cards to show you and today's posting is about one of them.
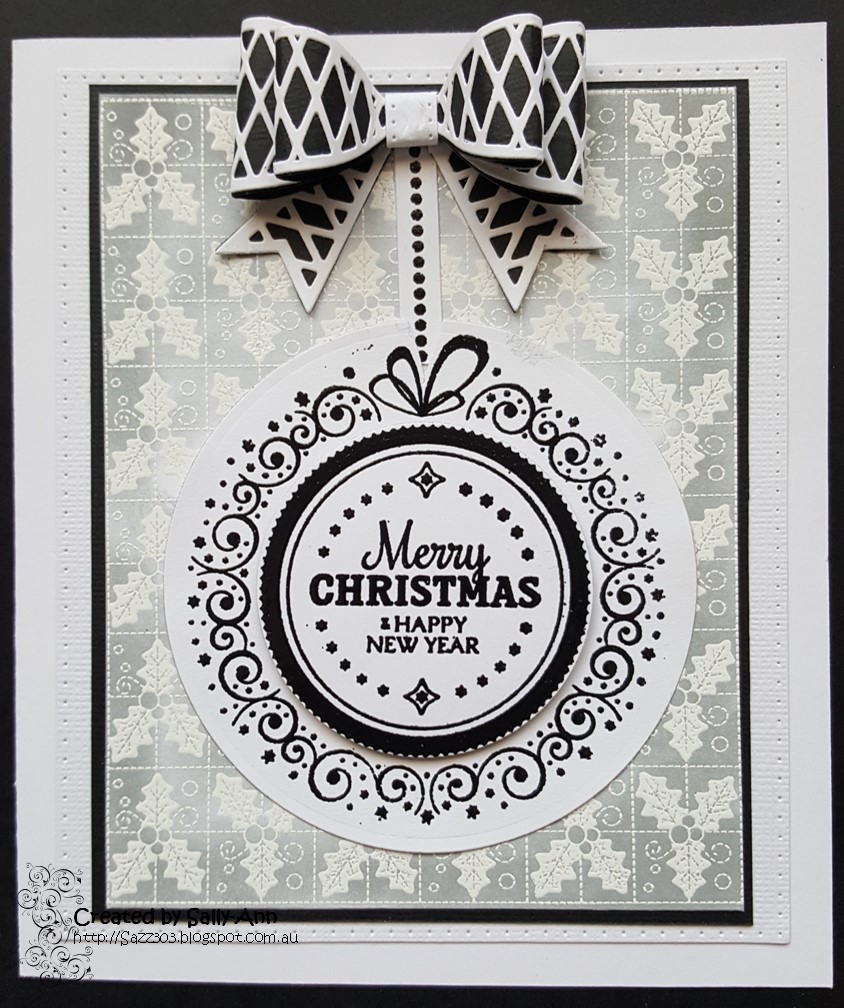
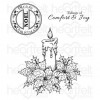
Here it is:


I began with the card base using white American Crafts card stock, then used a piece of pale blue card stock also from American Crafts, the pastel pack for a matted layer.

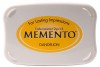
Then I used the JustRite Holly Stitched background stamp which I inked with a Versa Mark Ink and then heat embossed using white embossing powder. I used the Memento London Fog ink pad and a dauber to colour the embossing I had just done.


I used the Heartfelt Creations Sparkling Poinsettia Candle stamp and a Memento Tuxedo Black ink pad, once stamped I fussy cut the image and coloured it using a variety of Distressed ink pens.

I positioned the cut-out on the card background and then used a Memento Dandelion ink pad and a dauber to ink the background (to create the candle light effect) once done I stuck the candle image to the background.

I then added a couple of pearls onto each corner of the card.


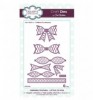
I used the Sue Wilson Merry Christmas die to make the sentiment which I added to the top right hand corner of the card.


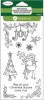
I kept the inside of the card fairly simple stamping a couple of images inside using the Hampton Art Reindeer set of stamps and a Memento Tuxedo Black ink pad.

I was going to colour them but in the end decided to leave them as they were.


..... and there you have it.

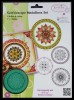
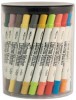
Here are the main ingredients that I used to make my card:


Thanks for stopping by to take a look at today's post. I hope you like my card!

Monday, 25 July 2016

A Black and White Bauble Christmas Card

 Hi, how are you doing? I hope all is well with you. I am beginning the Christmas Card run early this year. It seems to me no matter how soon I start it is never early enough! So the challenge is on ....

Here's my first card, I did a batch of these as you will see ....


I began by stamping the Holly background using the JustRite stamp onto white cardstock, using a versa mark ink pad and then heat embossing with white powder. I cut out the image and used a dauber and Memento London Fog ink pad to emphasize the white image I had stamped.


To make the central panel. I stamped the JustRite Merry Christmas Ornament stamp twice using the versa mark ink and black embossing powder then used a heat tool to emboss it.

I cut it out using a Spellbinders Circle Die. I then cut out the centre piece of the image. Backed it with foam tape and laid it on top of the first full image to add depth and dimension.

I cut a small "V" at the top of the bauble where the bow of the image was, so that when I added the "dotted string" it could be seen to be attached to the bauble.


I created a bow using the Sue Wilson Lattice and Classic Bows dies.

I used the Larger and the middle sized bows layered on top of one another, backing the white lattice with black cardstock.


On the inside of the card I stamped a couple of images, at the top and bottom corners using the Hampton Art Reindeer Joy clear stamps and black memento ink.


I made a few, here they all are covered in plastic ready to take to the shop in Dorrigo where I sell them (or keep them until I need the in late November for posting)!!

... and there you have it!


Here are the main ingredients that I used to make this card:


Thanks for stopping by, I have made a few more Christmas cards so I will share them over the next few days.

Friday, 1 April 2016

A Double Slider Birthday Card

Hi Everyone. I hope you had a great Easter with a little time for yourself to enjoy some rest and relaxation. As Frits is still away working overseas I caught up on some Domestic Goddess duties and cleaned my windows and washed all my voile net curtains - must say I felt pretty righteous when I had done it! They were REALLY in need and I got quite the workout cleaning those large sliding doors that we have in the house. I did also spend some time making some cards yay!

Today's card is one of those. I wanted to try something different and I came across this video that gave me the inspiration to have a go!


If you can't see it copy this URL into your browser:
https://www.youtube.com/watch?v=8KzJuomqqbM

I will warn you now - I took lots of pictures so today's posting is a little picture heavy!

So let me show you my card first then I'll take you through some of the steps.


Doesn't give too much away does it? There are two tabs top and bottom by pulling either one, two more images appear ....

The stamp is from The Greeting Farm (all the stamps I used are from the same source). I'll put the details into the ingredients list below. I have had them ages and wanted to do some colouring.


As you pull either of the tables two other images appear.

I made the background paper for the images which I coloured using a whole heap of Copics mainly in a pink colour except for the hair which I wanted to be a different colour on each of the "Cheeky" girls.


Here are three of the girls with the card now fully extended. I'll show the back of the card at the end of how I went about making it.


I took a piece of X-press-it blending card stock and a blender and went berserk with a few colours of Marvy ink pads. They are water based so if I needed to I could spritz them a little, in the end I chose not to and left just the circles of colour as you see here.


I apologise for the grotty cutting mat - I have had it ages and it serves me well. I have tried to give it a clean believe it or not!! It's an old Creative Memories one, my daughter Tiffany gave me hers as she no longer needs it and it's almost pristine - so I save it for when I am cutting white cardstock.
Here are all four of the Girls. I didn't take a picture of them finished - I had another go at their hair as I wasn't happy yet with how I coloured it - you can see the finished pictures on the card itself.


Here I backed each image with the coloured paper I had made and some Kaisercraft Grape weave cardstock. All put together using DST.


This is the tricky bit - in retrospect I'd use a lighter piece of plastic bag, this was from the wrapping of some flowers I had received - was the right colour too.

It needs to be quite loose yet not too loose - you need to play with this a bit to get it right.

The card base is a piece(s) of cardstock in a trifold configuration and this is the far right hand side piece. I cut the card from some Kaisercraft pink weave cardstock and then attached the last left hand piece so the card was the size I wanted.


This shows what I mean a little better, you can see my join as well as the tab on the far left. I often do a little scribble drawing to help me with my measurements you can see this on the far left!!! I added a tab to the top of this image and then added a white eyelet as well for the ribbon to pass through.


Mmmmm forgot to label this as STEP SIX - - Here I stick the first image on at the bottom only, the attached video explains this better.


Now, here's where I made a booboo, so I had to add a tab to the BOTTOM of one of my girls so that it could be added here seemingly upside down, I used the image of "Ginger Spice" as I called her later so she didn't go to waste.

Once I had done that I folded the card and taped it up. I stopped taking photos of the process at this point - I just wanted to get it finished - it was looking so good and I was excited about how it was turning out!!


Here is the back of the card. As you recall I had an extra girl with the tab at the top. I made a pocket on the back into which she could go.

Ages ago I used a JustRite stamp and coloured it (from the Kaleidoscope Medallions set with the 3.25" wooden stamper, sadly now retired)  - this was in my stash crash pile and I thought here looked a good place to use it on the outside of the pocket!


Here she is ... so not lost at all.


When the card is opened this is what is on the back. I added a sentiment and writing panel on the back of "Ginger Spice" which you cannot see here.

I used a white broad Signo pen to finish off the edges of the pocket and tabs.


..... and there you have it!


The main ingredients that I used to make this card:


Thank you for stopping by tody. I hoped you like my little creative adventure!
Related Posts Plugin for WordPress, Blogger...