Hello it's good to be with you on this last day of July! Wow! Really seven months into 2013 already??
I have another commission to share with you today. This is another one for Dave who was 55 this month, last year I did the Red, Black and white Handyman look.
This year it's the Blue look ....
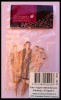
 It was hard to find a photo of Dave, however perseverance paid off.
Gail gave me lots of hints for his card so I used them all. I did experiment with some metal work for the card as I was aiming for a bit of the Grunge Steampunk look.
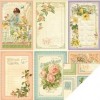
The base card was made from an A3 Quill 210gsm sheet of card stock. I added a sheets of blue design paper from my stash.
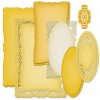
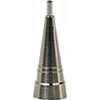
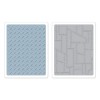
I cut a small sheet of silver metal with Spellbinders Circles die, then embossed with a Tim Holtz metal rivet embossing folder. From the waste ( in the centre) I used Spellbinders Sprightly sprockets to make some more gears.
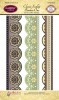
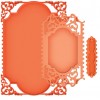
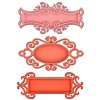
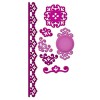
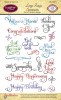
On the corners I used one of the Spellbinders Parisian Accents, for the sentiment I used a Just Rite stamp and Spellbinders Fancy Tags Two die.

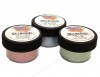
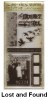
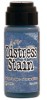
I used the cut circle as the frame behind which I added some blue feathers, then created words on my Computer, then fussy cut them out and distressed the edges with some Tim Holtz Faded Jeans blue distressed stain. I added these with glue dots around the edges of the metal as well.
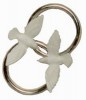
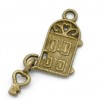
I added some great metal charms that I bought from My2Angels, like this one here, which I decorated with some fine blue ribbon from my stash.

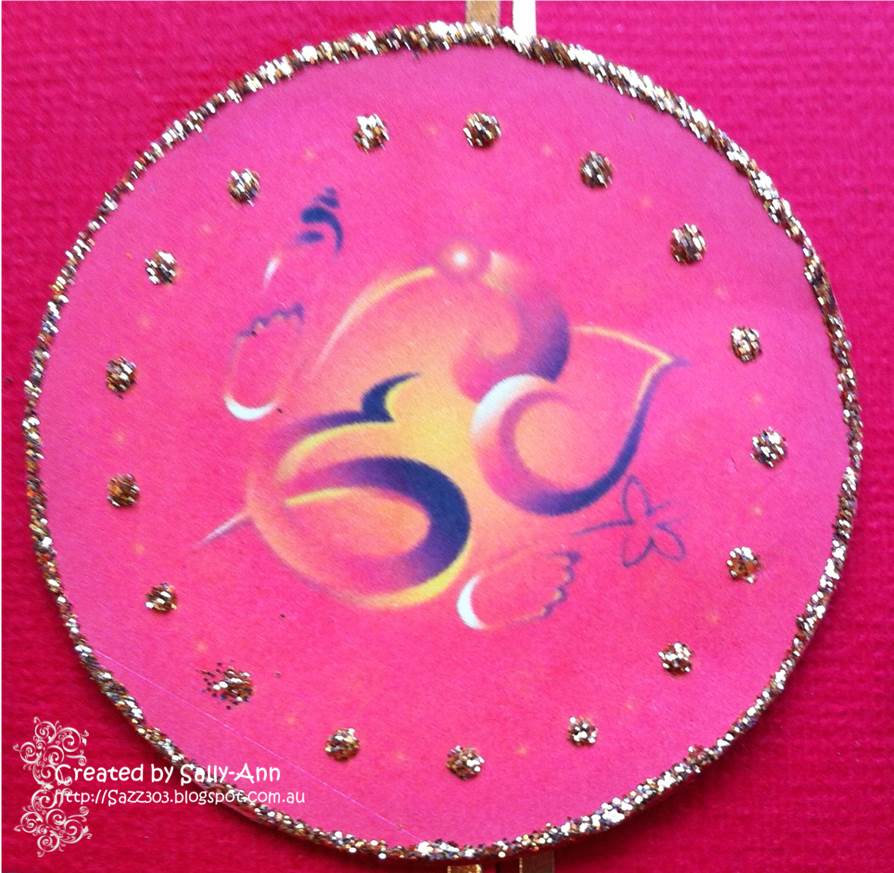
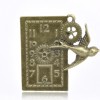
Although this image looks like it's upside down, this is the way it looks on the card, you can see some of the metal gears I added and another of the metal charms from My2Angels.

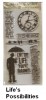
On the onside of the card I used a variety of stamps from Tim Holtz - Stampendous and also a Hero Arts Clear Stamps FIND JOY 2011 CL497
I used a couple of Peel Offs in the right hand corner (and hand wrote the word 'Today'.

I really like these stamps so here's a close up.
Here are the main ingredients that I used to make this card:


I have another commission to share with you today. This is another one for Dave who was 55 this month, last year I did the Red, Black and white Handyman look.
This year it's the Blue look ....

Gail gave me lots of hints for his card so I used them all. I did experiment with some metal work for the card as I was aiming for a bit of the Grunge Steampunk look.
The base card was made from an A3 Quill 210gsm sheet of card stock. I added a sheets of blue design paper from my stash.
I cut a small sheet of silver metal with Spellbinders Circles die, then embossed with a Tim Holtz metal rivet embossing folder. From the waste ( in the centre) I used Spellbinders Sprightly sprockets to make some more gears.
On the corners I used one of the Spellbinders Parisian Accents, for the sentiment I used a Just Rite stamp and Spellbinders Fancy Tags Two die.

I used the cut circle as the frame behind which I added some blue feathers, then created words on my Computer, then fussy cut them out and distressed the edges with some Tim Holtz Faded Jeans blue distressed stain. I added these with glue dots around the edges of the metal as well.
I added some great metal charms that I bought from My2Angels, like this one here, which I decorated with some fine blue ribbon from my stash.

Although this image looks like it's upside down, this is the way it looks on the card, you can see some of the metal gears I added and another of the metal charms from My2Angels.

On the onside of the card I used a variety of stamps from Tim Holtz - Stampendous and also a Hero Arts Clear Stamps FIND JOY 2011 CL497
I used a couple of Peel Offs in the right hand corner (and hand wrote the word 'Today'.

I really like these stamps so here's a close up.
Thanks for stopping by and reading Today's Post, have a great day