Monday, 28 January 2013

A Card for Felicity

Thanks for stopping by today. I hope all is well with you. We are currently experiencing really heavy rainfall. It is definitely an Australian Summer; first we have the fires and then we have the floods. Mother Nature is really doing her thing and lots of records are being broken with our weather.

The card I have to share with you today was commissioned for Felicity. I have some images of this card as well as a video clip. 


This card was made with Kaiser-craft grape and liquorice weave card stock. 

The card is folded in a special way and when closed looks smaller than it actually is. 

I used Grand Spellbinders Circles LF-114 and Grand Decorative Circles LF-015. Although cutting the end of the card with circle shapes; when they fold they become ovals.

The centre medallion is made with Spellbinders Floral Ovals S4-356 using both liquorice weave card stock and some shimmer lilac design paper from my stash.

I created the sentiments on my PC and fussy cut Felicity's name and Happy Birthday; the centre medallion sentiment was cut out with a Spellbinders Classic Large oval die S4-110 and I used some Copic pens to colour around the words and added some pearls and Crystal stickles.


Closer view of the central medallion.


The card is now fully opened and you can see the side panels that previously tucked behind each other when closed.

I added images of Fairies (as requested) using some stickers I have had for a while from PSX.


I found some lovely quotes about fairies and added those to one of the side panels.


I used words from the stickers and added those to one of the panels.


Here is the back of the card with plenty of room to write comments etc.


Here is the promised video of this card:


Here is a list of the majority of ingredients I used for this card:
InLinkz

Thanks for stopping by today, I hope you liked this card made for Felicity.

Thursday, 24 January 2013

A card for Jude

Hi, how are you today? Today I have a lovely card to share with you. It was commissioned by a friend of Jude's and the brief was to make reference to a few shared life experiences. I'll point them out as I show you the photos I have taken. I also have a video clip to show you of this card too.

The card forms the shape of a Handbag.

I used Kaisercraft Black (Liquorice) weave card stock as the base of the card.
Using Grand Spellbinders Circle dies helped to form the shape of the "Flap" of the handbag shape.

Circle Velcro helped keep the Flap closed at the front of the bag.

A pink resin flower was layered onto a gold coloured metal frame which I  bought from Zacco Beads.

The ribbon was a Freebie from a Magazine; and the Paper from a Basics Paper 12 x 12 inch Pack.

The Happy Birthday sentiment was from a Kaisercraft 6 x 6 paper pack (apologies cannot remember which one!).


I created, printed and Cut out Jude's name on my PC.

I used a Carl punch (sakura) to cover the holes I made for the ribbon to go through - you can see this better on the back of the card seen here.


This image shows the inside of the card fully opened. You can see the flap on the right hand side.


I have a picture of the panels to show you separately. This is the closed inside panel on the left hand side.

The sentiment is from the Kaisercraft "Save the Date" 6 x 6 inch paper pad onto which is a Star cut with a Sizzix Die.

Papers shown are from the Basics Paper 12 x 12 inch Pack.


Here is the panel opened up and was cut with a Sizzix Pop N Cuts  Label insert as well as the Flagpole from a Sizzix decorative strip die.

The Design Paper is from Cosmo Cricket, and I also added a couple more white resin flowers to the centre label.


These two panels form the centre of the bag which get folded up inside the bag when it is closed.

I used Spellbinders Dies to create the medallions and the sentiments were created on my computer and printed out.

There are also a couple of lovely charms bought recently at My2Angels. I also have used some Kaisercraft Magnolia Grove collectibles die cuts.


I just love this Japanese Design Paper. It is original Origami paper bought from an Australian Japanese paper supplier who buys direct from Japan which I have had for years and used infrequently because it is so lovely.

I was asked to reference the song ...
".... we are turning Japanese I really think so ..."


Here is the video clip I mentioned:


Here are some of the main ingredients I used to make this card:


Tuesday, 22 January 2013

A Card for Elizabeth

Hi, How are you today? Here where we live in Australia we are experiencing some hot weather. Fortunately we have (to date) not been affected by any Bush Fire; although last evening, when outside you caught the strong smell of smoke on the wind. As today has progressed the weather is changing and getting subtly cooler.

Today I have a card to show you that was commissioned for a young lady called Elizabeth who is celebrating her 6th Birthday. I had lots of fun making this card.


This is a step card.
I'll show you each of the three steps in turn. I also have a video so you get to see some more of the detail too.
The base of the card was black Kaisercraft weave card stock.


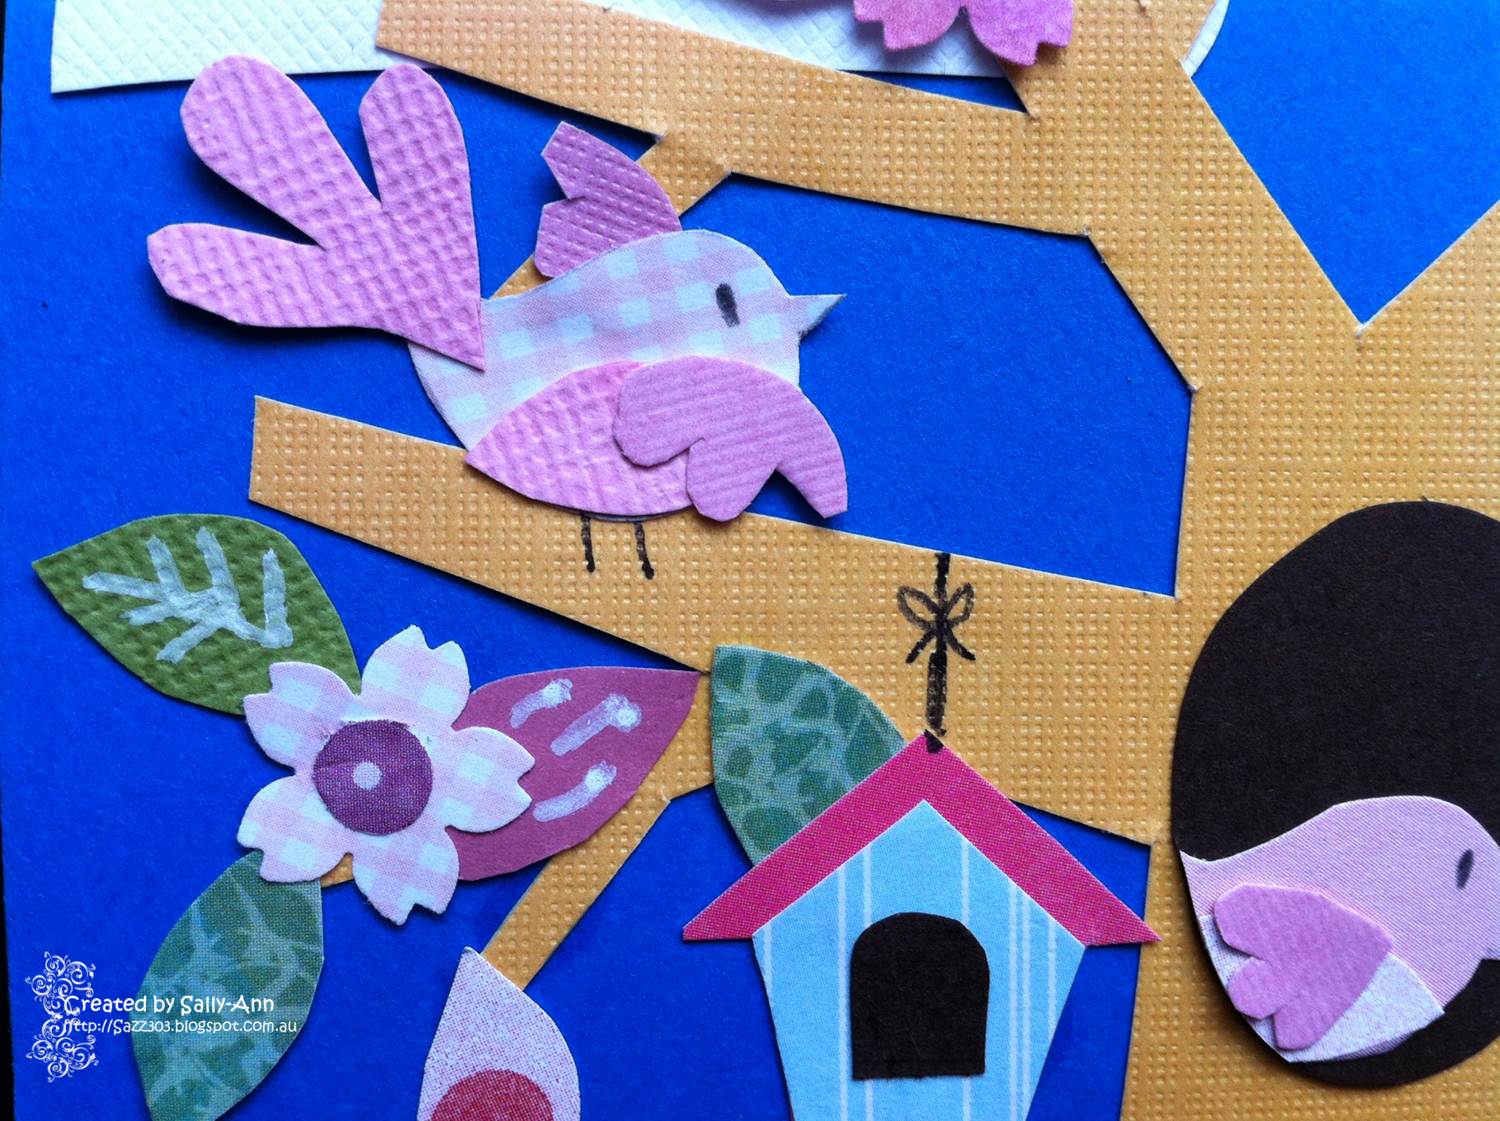
This is the back part of the card. The design was inspired by an image on a bag that contained a present for Tiffany given to her a while ago.

I used scraps of card stock for the pieces I drew, cut out and stuck together.

The background card stock was from a DCWV Bright 12 x 12 Mat card Stock Pack.


A close up of the elements I drew and cut out. The bag provided me with everything I needed, almost as a template that enabled me to draw the tree, clouds, leaves, flowers, clouds, birds, bird house .....


....  grass and the mushrooms ... everything!


The middle step of the card.
I used a Kaisercraft Bling Rhinestone letter E and mixed it up with words I printed on my computer and punched out some small flowers using a Carl 1 punch.
The background paper was from a Basics 12 x 12 pad.


The first step of the card shown here with a Mo's Digital Image (waiting for the parade) coloured with a range of Copics and a sticker from October Afternoon. I hand drew the sun and cut it out; gluing it behind the sticker.


Here is a video I took that shows this card in more detail:


UPDATE:
Some of the ingredients I used to make this card:


OK that's all folks! Hope you liked the card it was a lot of fun to do as most of it I had to hand draw and cut out - reminded me of my prime school days!


Related Posts Plugin for WordPress, Blogger...